Design Process
Prototype
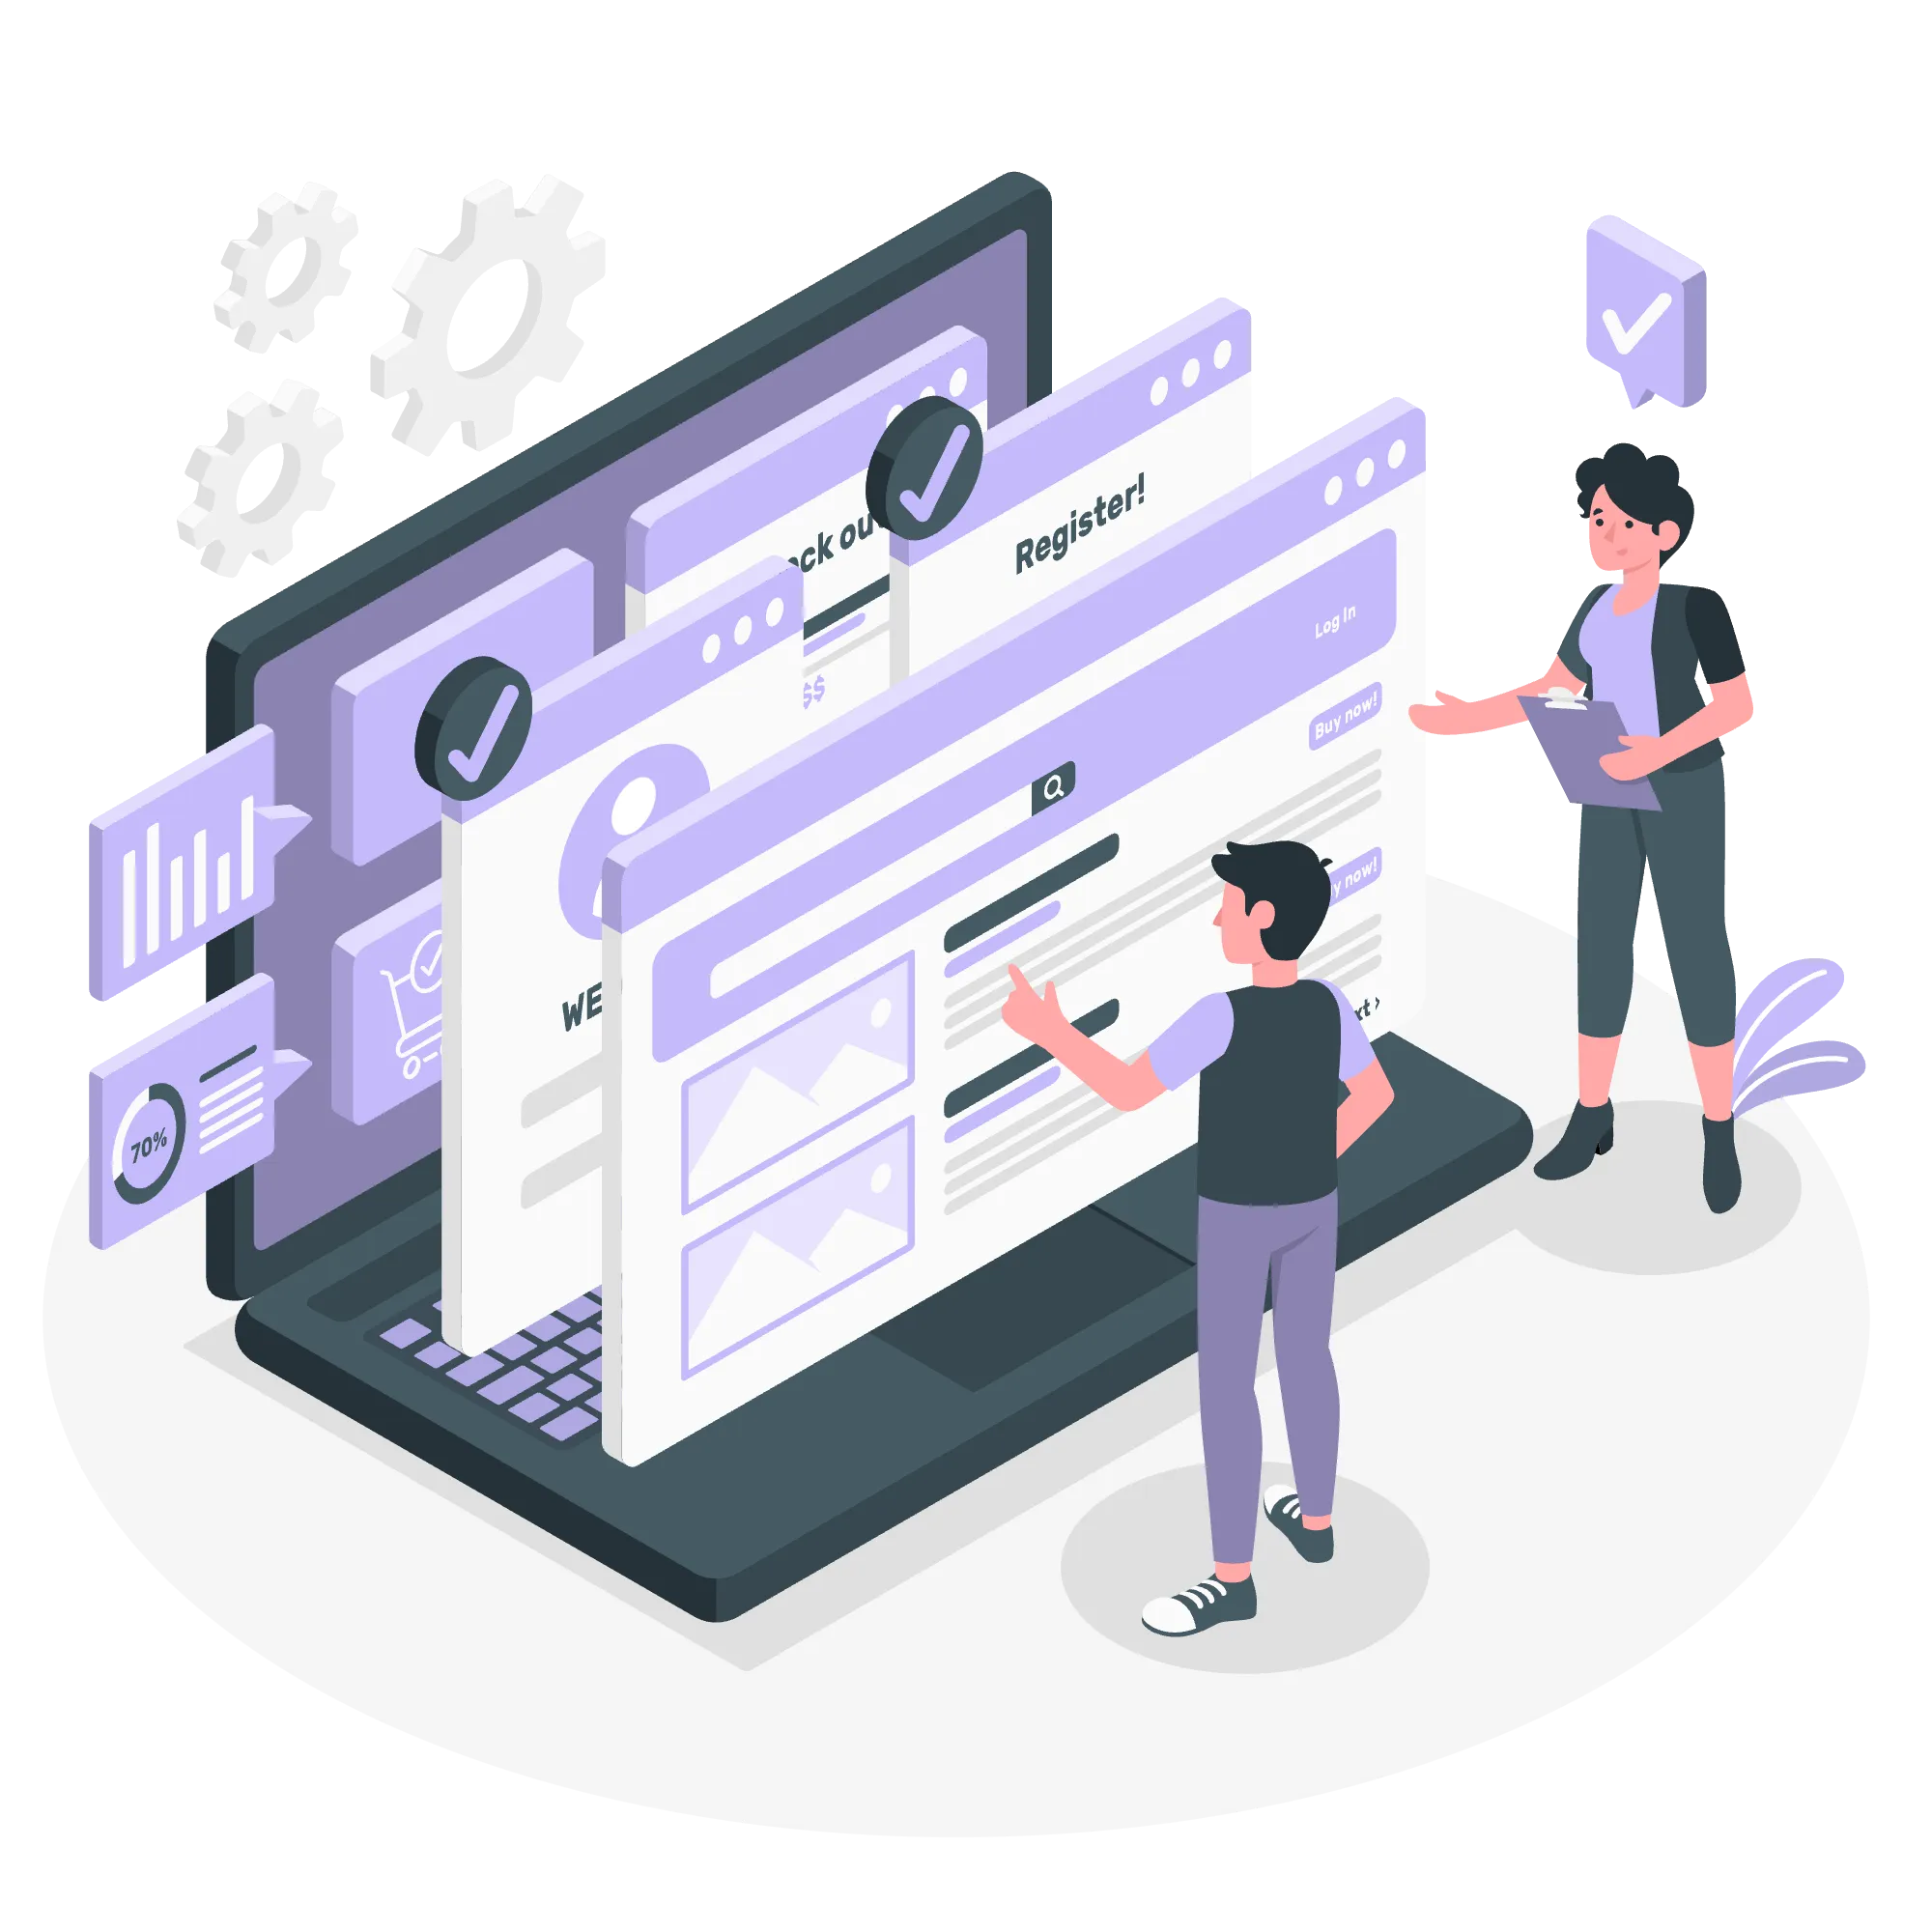
Overview
Welcome to the fourth phase of the bootcamp! In the previous phase, we decided on the general idea for our designs, so now it’s time to put them onto screens. We will go over how to turn your ideas into designs by creating low-fidelity prototypes and progress to high fidelity prototypes. A good portion of this phase will also be dedicated to Figma, so keep an eye out, and remember to check out the prototype phase of the bootcamp project at the end of this module.
Module Length: 40 min
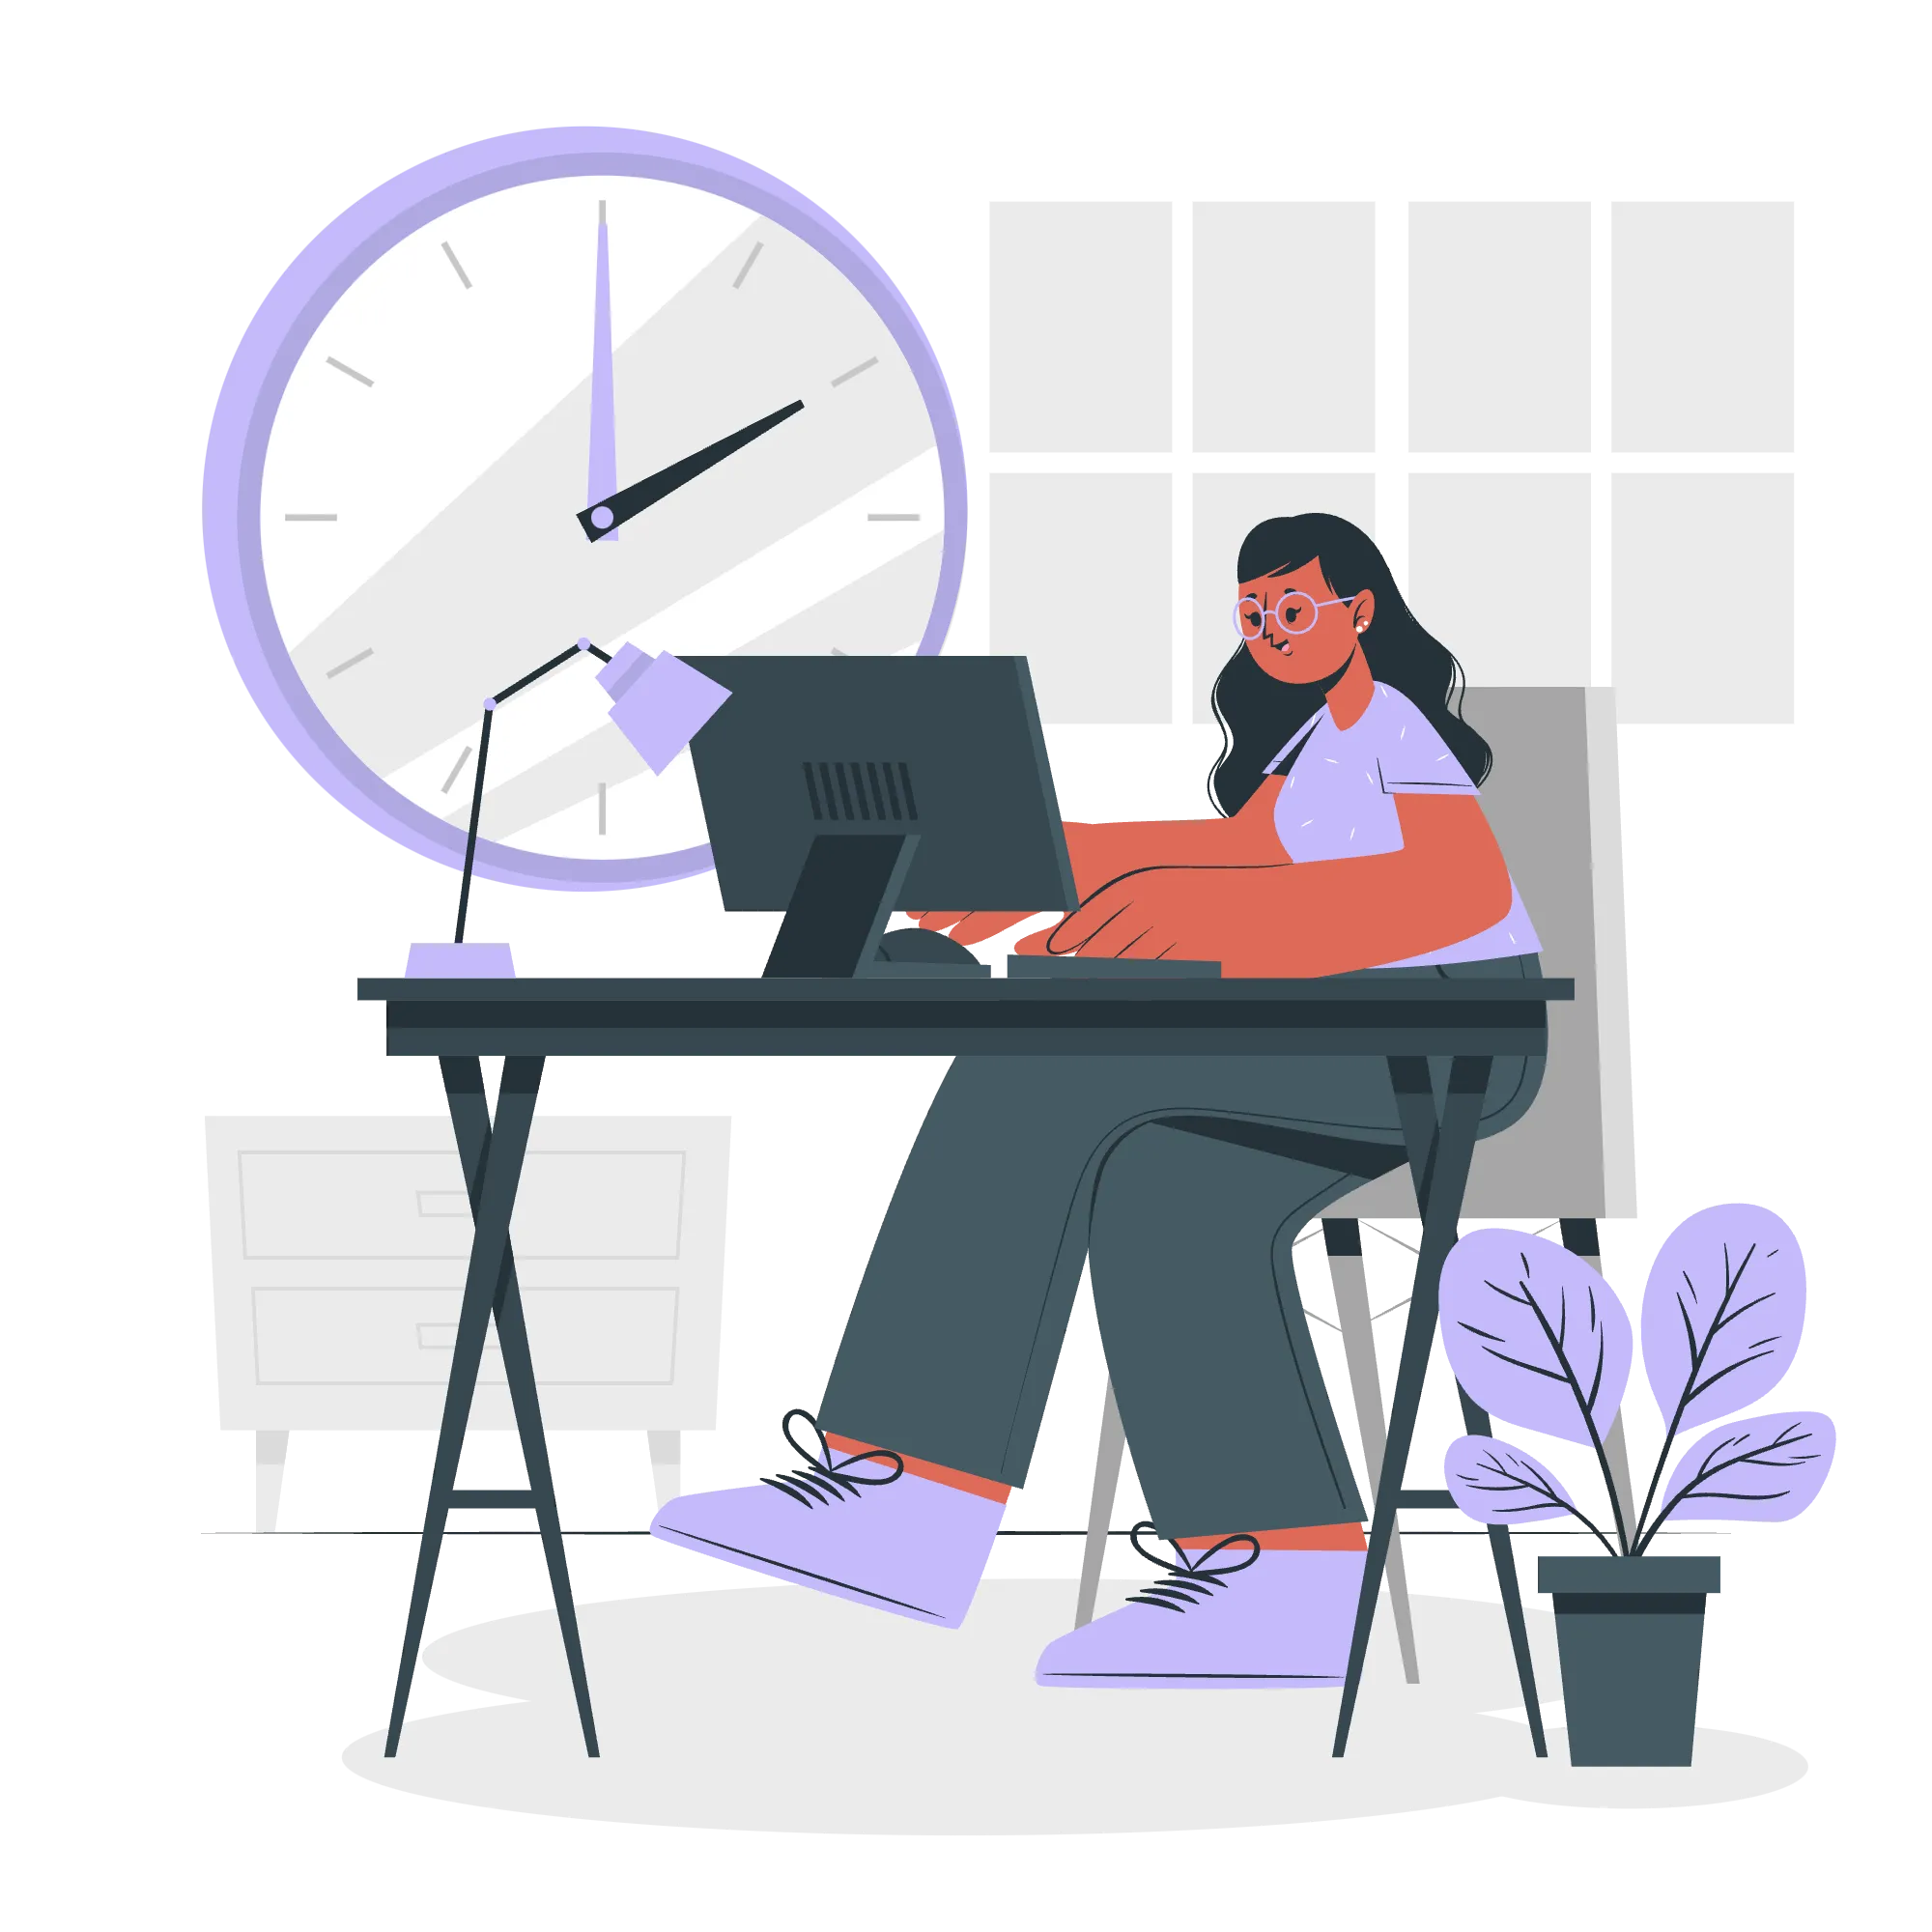
Designing your ideas
An integral part of Design Thinking and UX design comes from the Prototype phase. Prototypes are scaled down versions of the products or services you intend to make. You can use either digital prototyping software (like Figma) or paper prototypes, which are another great option.
We generally recommend digital prototypes for this bootcamp.
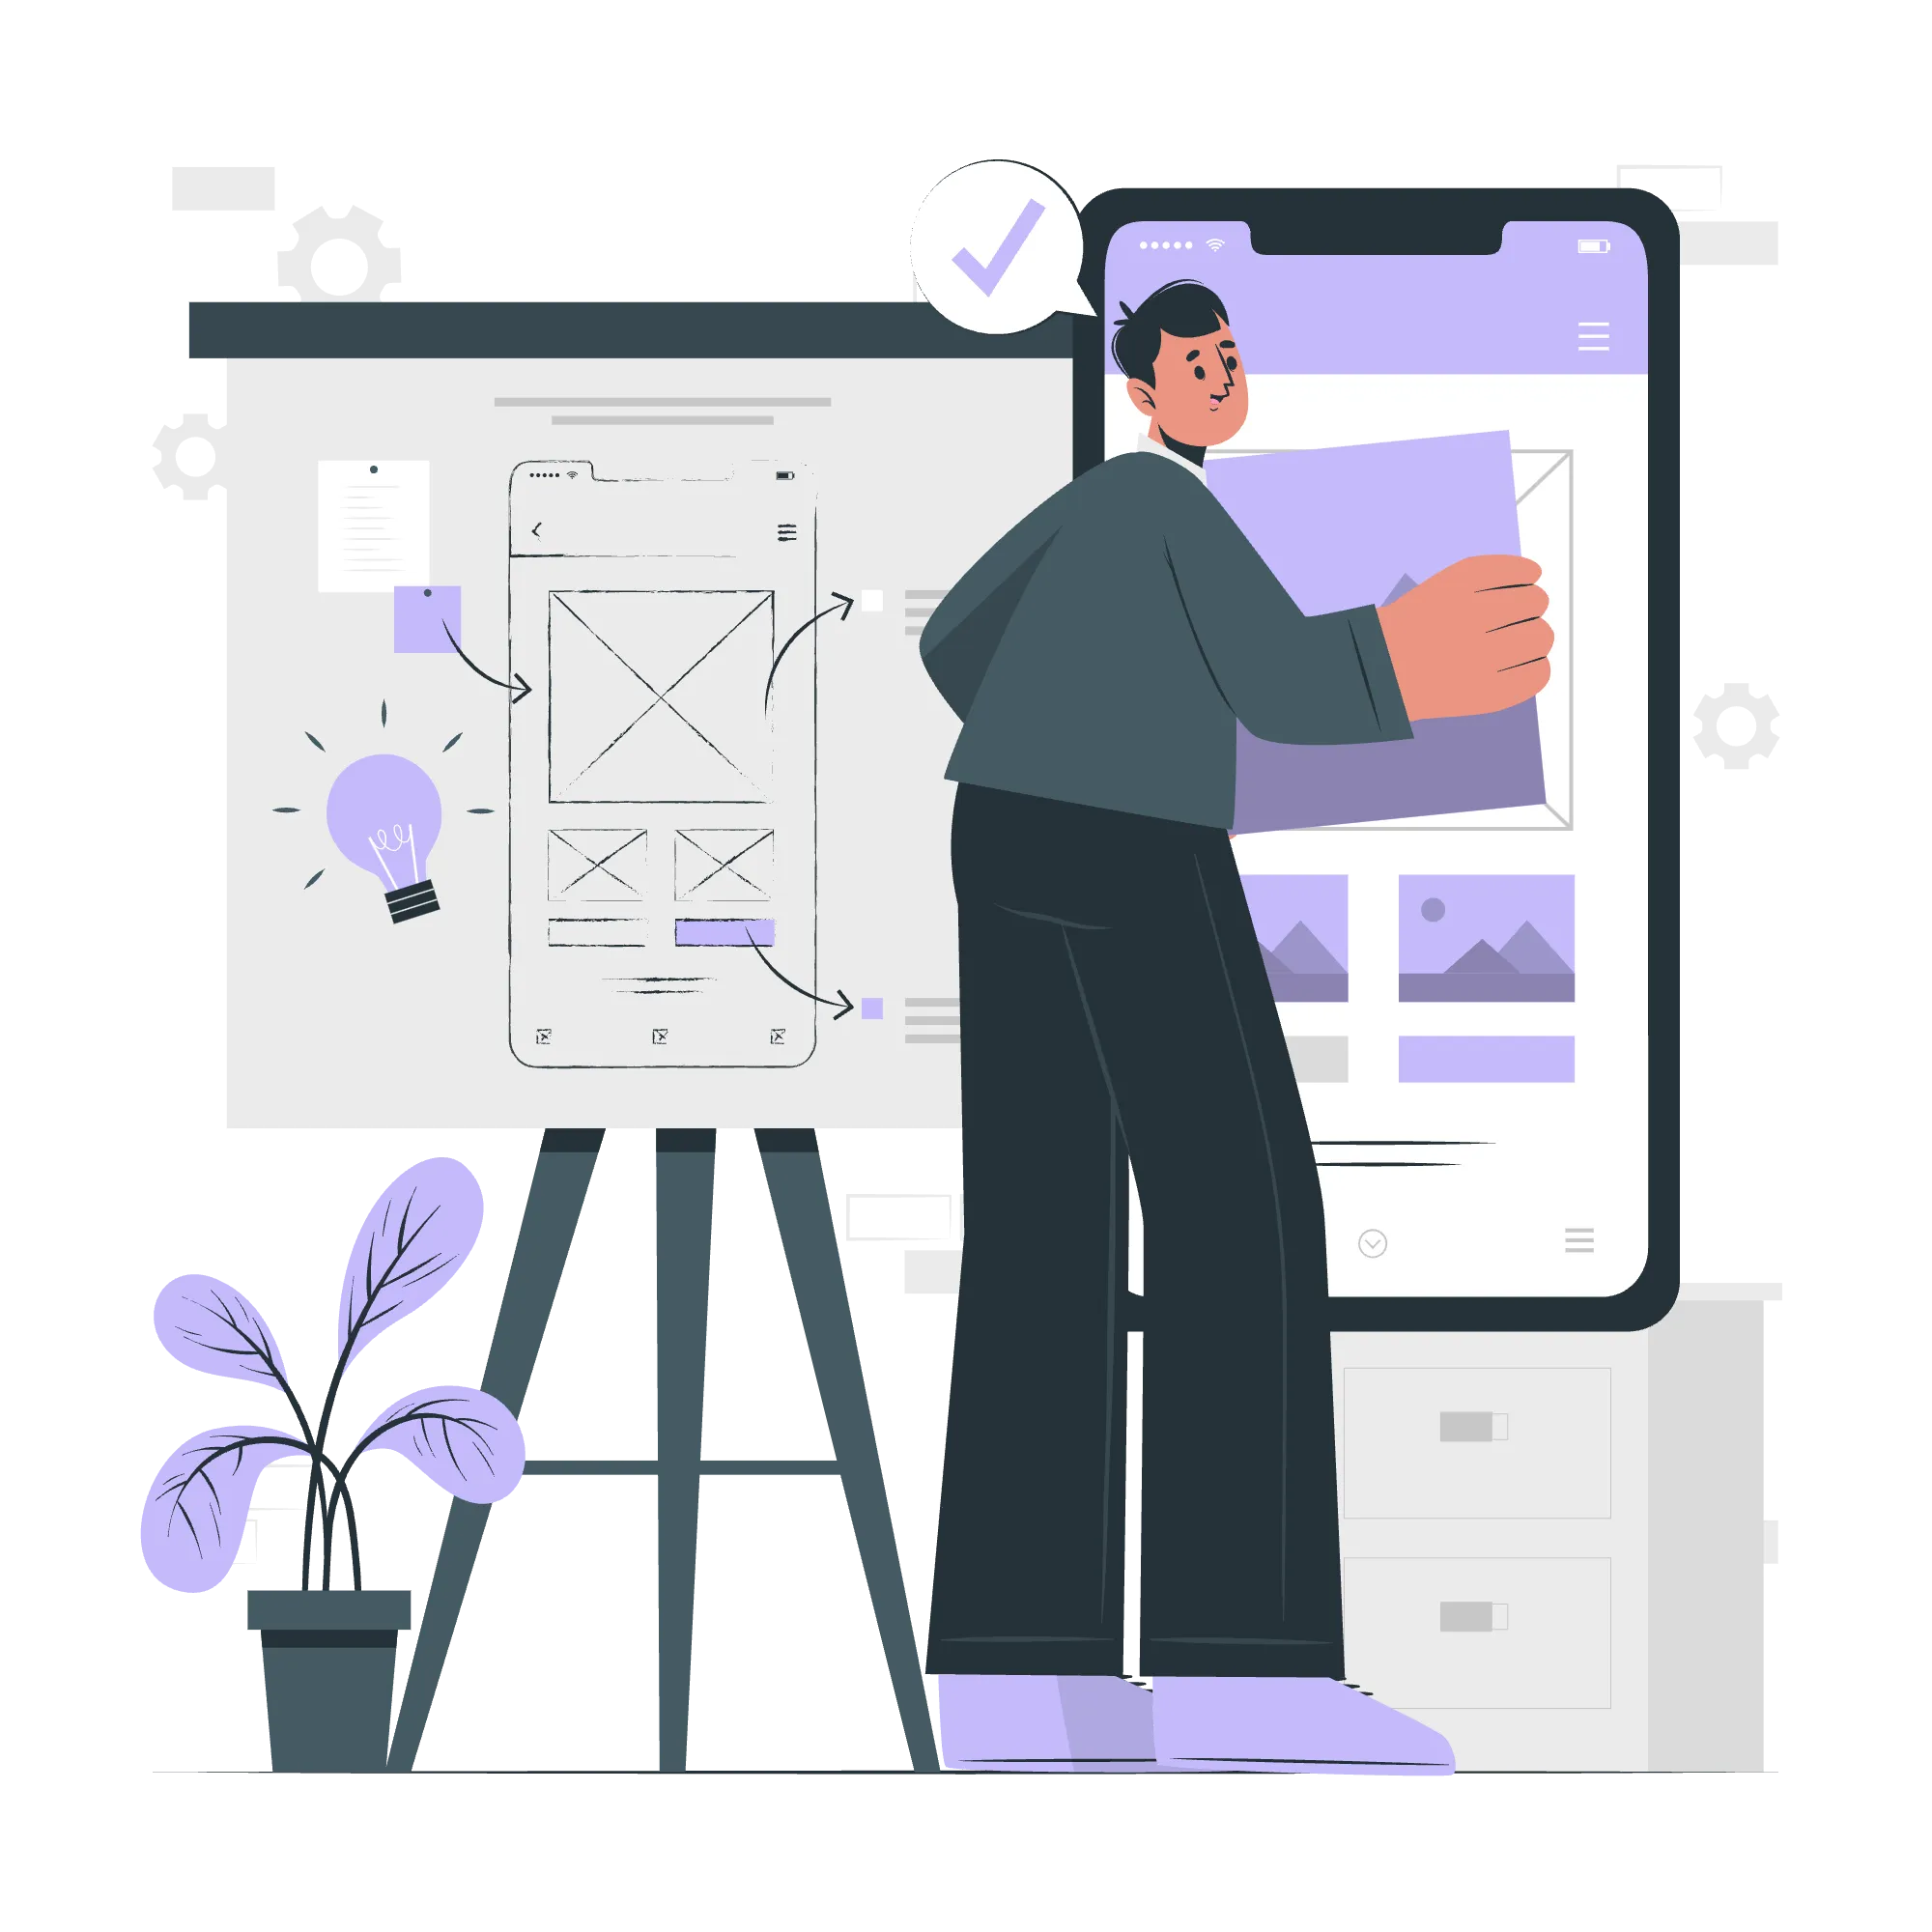
Lo-fi Prototypes
Prototyping designs follow streamline processes by quickly testing ideas with real users to receive feedback and improve designs in a timely fashion. The process begins with low-fidelity prototypes or wireframes. Consider these elements when starting low-fidelity prototypes:
-
User flow: Mapping out the user interface (UI) to determine what appears on the user’s screen at different times, and how the user will interact & navigate through the app.
-
User journey: Mapping out the user experience (UX) to determine what’s the user’s entire journey or user specific interactions within a birds-eye-view perspective. This takes into account the user’s delights and pain points as they interact with your designs, ultimately creating a holistic view of how your user will react to your product.
-
Visual design: Incorporating visual attributes of the product or service created (shapes of elements, visual hierarchy, etc.). In the lo-fi stage, only simple shapes in black and white are used to distinguish sections, elements, and layouts.
-
Content: Including only the necessary key content for prototyping (e.g use text placeholders, image boxes, etc) rather than content that will be used in the final designs.
-
Interactivity: Creating basic interactive screens and tasks to test ideas with users
Usability Testing & Iterations
Progressing to high-fidelity prototypes will require lots of user testing, and further ideating and brainstorming on your end. Be prepared to embark on usability testing at the various stages of your prototypes for constant feedback. Designers regularly evaluate their products and services by consulting with real users first, then using their feedback to make the necessary adjustments and improvements to their design. We will go deeper into how to conduct usability testing for the next phase, Test. Overall testing typically occurs when designers need to progress to higher quality prototypes or solve the various roadblocks in their design process.
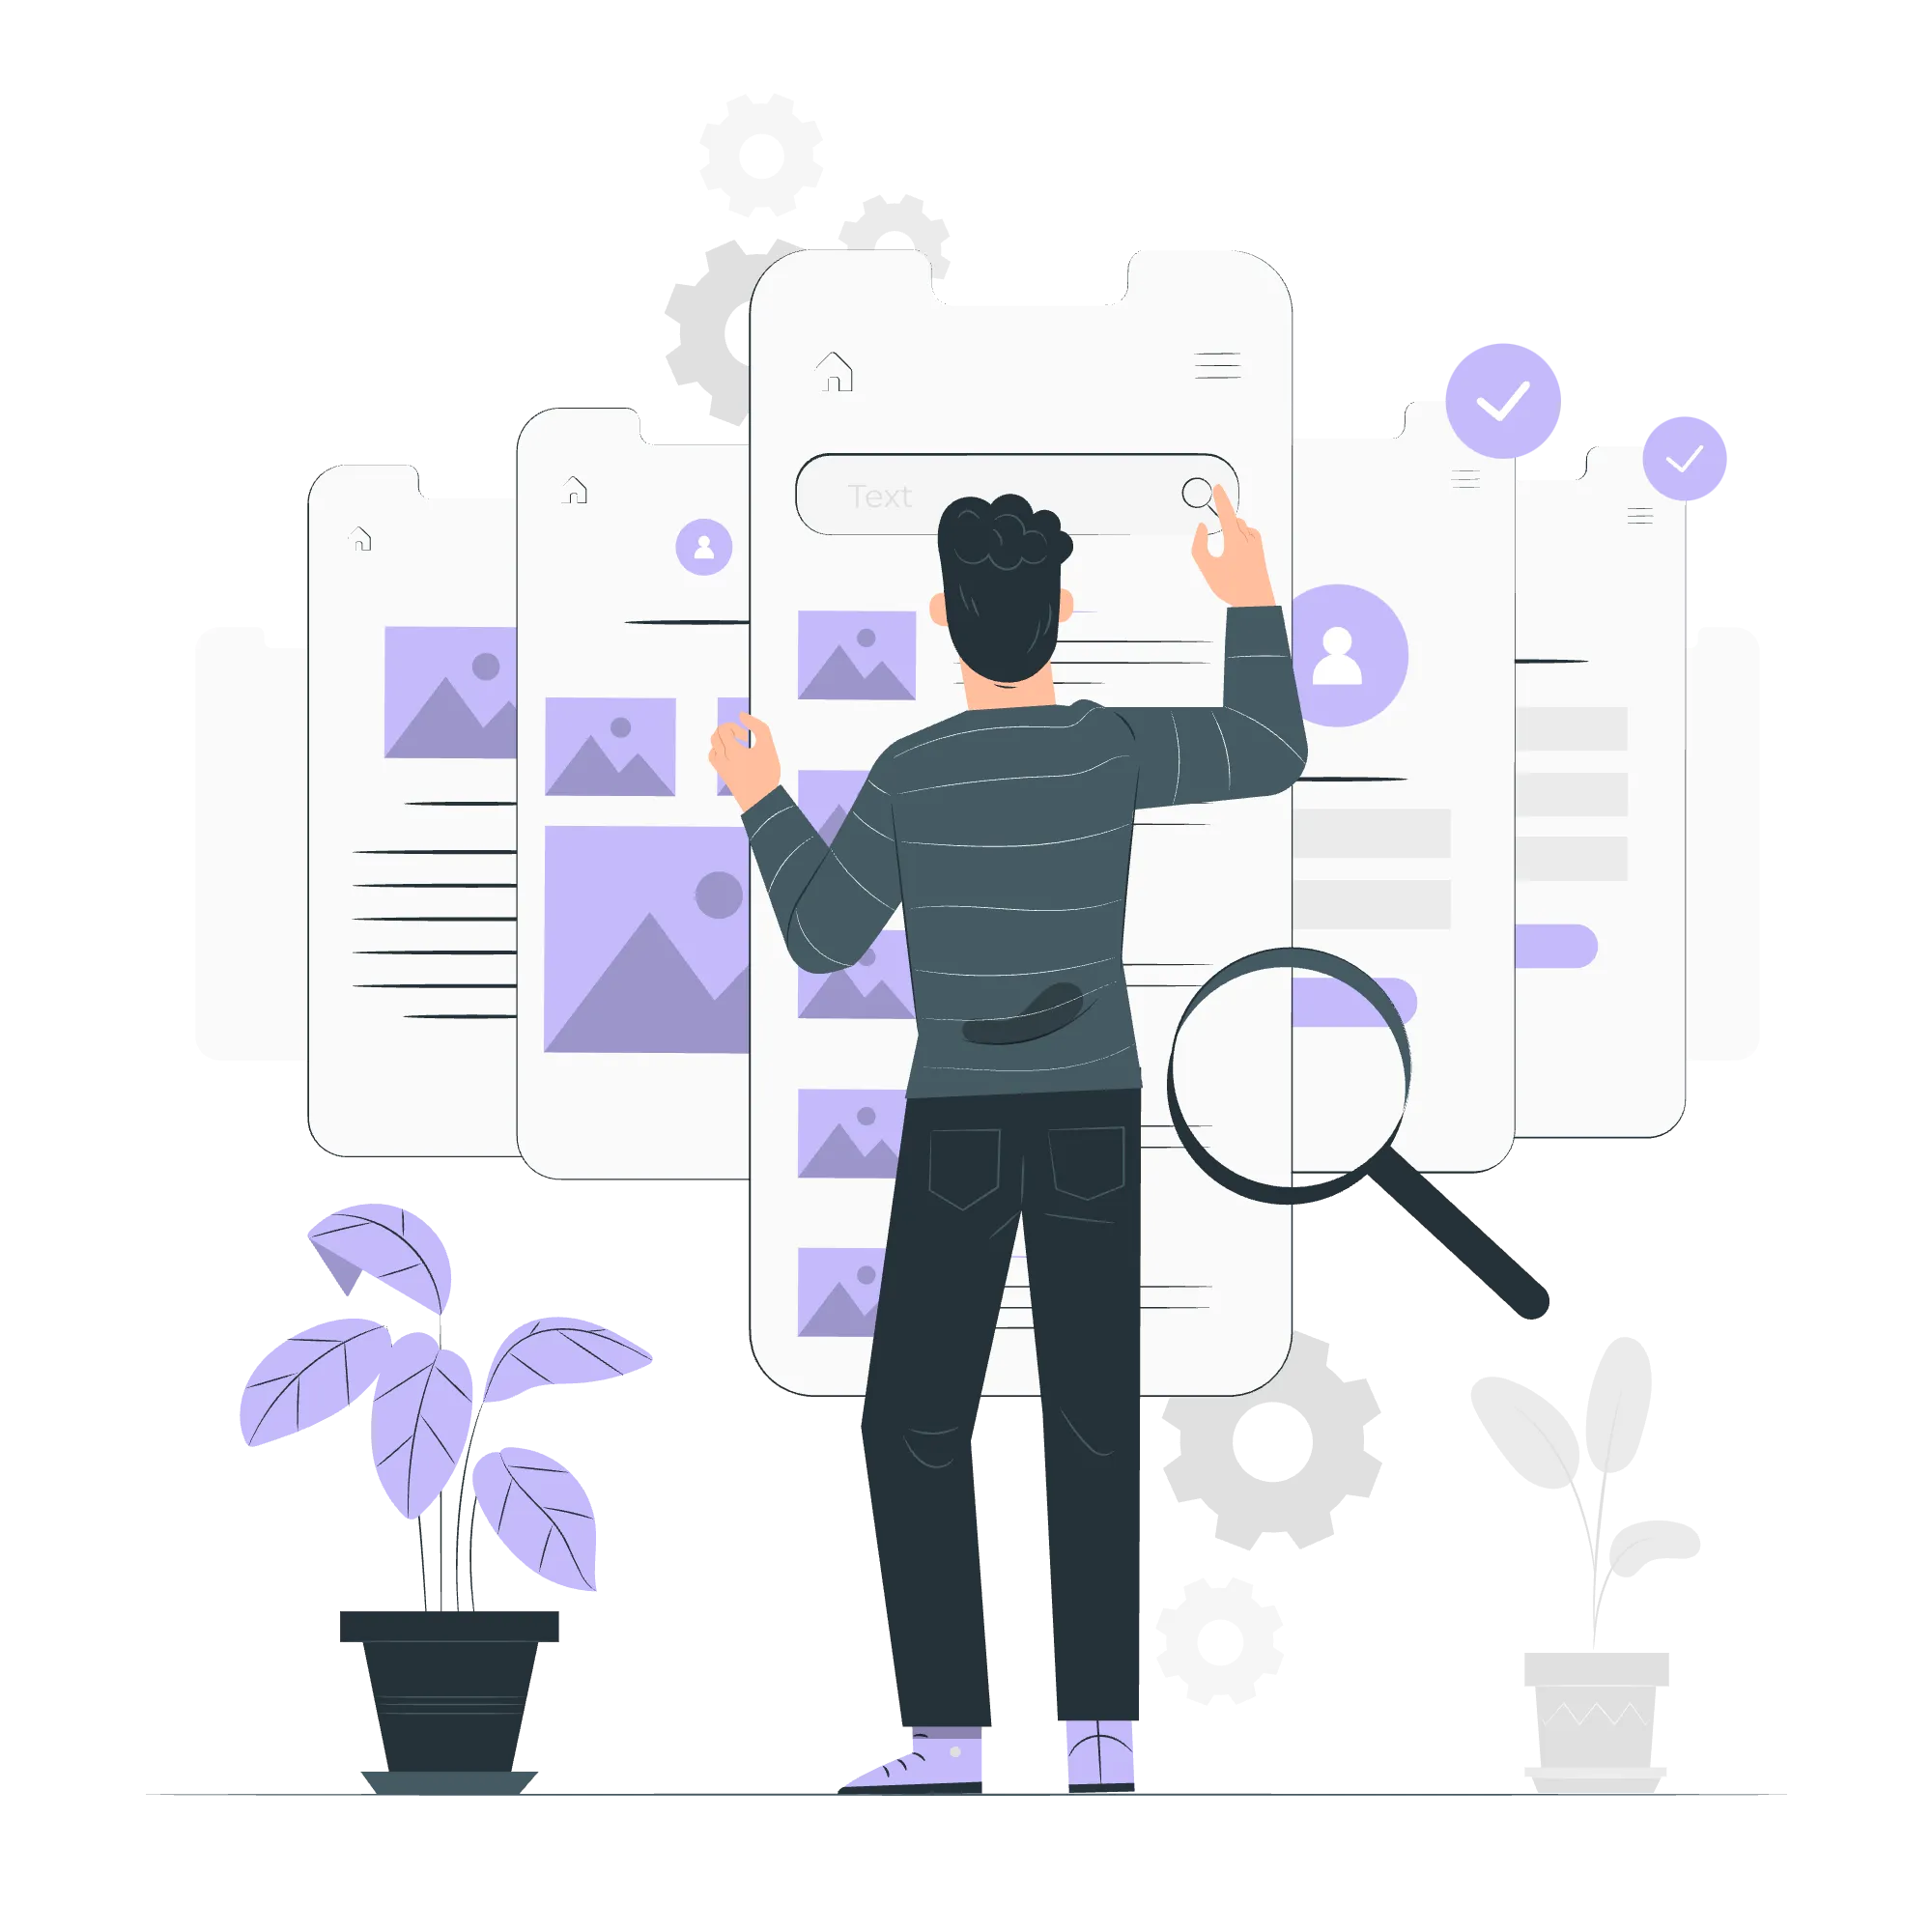
Hi-fi Prototypes
High-fidelity prototypes will be the truest representation of your product. Based on the feedback you received from user testing, the user interface (UI) should be established and the user experience (UX) should be prototyped. Here are some things to consider when making high fidelity prototypes:
-
Design system: Standards on Colors, Fonts, and Spacing (a grid system) are present and implemented throughout your entire prototype
-
Components: Common visual elements that you can reuse throughout your designs
-
Images: All images should be present and, if not, replace any placeholders with final image shots on the prototype
-
Desirability: Determine how desirable this product would be from the user’s point of view. Does it satisfy user needs, solve user pain points, and provide a solution to the problem statement?
-
Technical feasibility: Use data-informed decision making, both qualitative and quantitative, to determine how easy it would be to implement digital interfaces
-
Business viability: Use data-informed decision making, both qualitative and quantitative, to determine how successful the product would be in the current market
Prototyping is the lengthiest part of the Design Thinking process. By the end of each iteration of prototypes, you’ve already done most of the heavy lifting. Just remember that testing is the next vital step and is done alongside the prototype phase. We will dive deeper into Test in the next phase.
Prototype Phase Conclusion
We’ve reached the end of the Prototype phase and explored a lot of new information. Good job on making it through the longest phase in the bootcamp! Test will be the last phase we cover in the design thinking process. Although we briefly touched on testing when we explored how to build prototypes, we didn’t go in depth. You’ll find in the next phase an in-depth exploration of user scripts and implementing changes from user testing. As always be creative and good luck on the next prompt of the Design Bootcamp Project!
Bootcamp Project
Getting your ideas out on paper helps visualize your thoughts and lets you see what will work and what won’t. Now, you’re ready to digitize your solutions on Figma to prepare them for feedback and interactive testing.
Prototype Video
Beginners Tutorial (~13 min)
This tutorial will focus on the basics of Figma tools, and you will learn how to navigate through interaction flows, animations, preserve scroll, and more!
Key Points
0:50 - Familiarizing with the Workspace
1:30 - What is a frame?
2:00 - Design Right Sidebar
2:30 - Figma Demo Start
2:55 - Prototyping Demo
4:55 - Prototyping: Overlays
6:35 - Prototyping/Overlays: Adding Interactions
7:20 - Prototyping: Hotspots
7:50 - Components
10:00 - Prototyping: Scroll Positions
11:15 - Prototyping: Basic Interactions + Flows
11:50 - Importance of Prototyping Flows & Recap
Advanced Tutorial (~8 min)
This tutorial will focus a lot on creating auto-layouts, components, and variants. These are advanced tools that are very useful in creating a more efficient workspace in designing your prototypes.
Key Points
0:00 - Video Breakdown
0:45 - Making Components
1:50 - What is a Component?
2:20 - Making Variants
4:50 - Editing Components
5:15 - Auto-layouts in Components
7:30 - Importance of Components & Auto-layouts