Design Process
Overview
Overview
Welcome to CodeLab’s design bootcamp! By the end of this experience, you will have a basic understanding of the design process from start to finish, as well as the why’s and how’s of various design methods.
Before we jump into the depths of each design phase, let’s go through a quick crash course of what exactly the design process is. This module is just a starter guide and will scratch the surface of what is expected for each design phase. Use this page as a guide or a refresher; If you want a thorough explanation of the design process, be sure to read through the modules for each phase!
Module Length: 15 min
What is the Design Process?
The Design Process gets mentioned in every designer gathering, but what exactly is it and why does it exist?
The design process is a series of steps designers follow to take a product from ideation to development. It’s used to guide designers as they work through a project, and it helps designers keep their user in mind as they iterate through various design solutions. The design process ensures that every designer is following the universal principles of user-centered design no matter what project they take on.
Empathize
The first step is the design process is Empathize. Design is a user-centric field, so in order to develop a successful product, designers must understand and empathize with their user and their frustrations. This is often done through literature reviews and in-field research with methods such as surveys, user interviews, and researching similar existing products (competitive analysis).
You might be thinking, “I know the prompt and problem already, why can’t we just jump into brainstorming ideas?”. However, users are what make or break a product. You are making something that will be used by the product’s demographic, which is likely not yourself, and you don’t know the full context of a user’s experience with that product. Designs built on assumptions will not solve a user’s frustrations because of this lack of context. Thus, it is essential to actively engage with your target audience to create something that is for them and that will mitigate their problems.
Define
After you’ve gained a better understanding of who you’re designing, it’s time to synthesize your research findings and define the problem at hand. At this point, designers will analyze their data to find common wants, needs, pain points, and user-product interactions amongst research participants. This data is organized with methods like affinity maps, user personas, and journey maps. With this established information, designers will create an overarching problem statement to guide their designs moving forward.
Once again, this step may seem excessive, but defining your problem statement is necessary in narrowing the focus of the project. The problem statement solidifies what problem you’re trying to solve and ensures that everyone is on the same page as to what needs to be solved. Not only does it act as the core for the project, it is also something that will be shown to clients, stakeholders, and others to describe what your project is about in a single sentence. There are so many paths a project can take, and by creating a well-crafted problem statement, the possibilities become a lot clearer in what is needed and its feasibilities.
Ideate
With the research and goal established, it’s finally time to start brainstorming! At this phase, designers ideate on potential solutions to their problem statement by sketching, brain dumping, storyboarding, and more. It’s important to note that this phase is often done on paper and pencil to ensure that ideas are quick and malleable.
The goal of the Ideation phase is to quickly communicate your ideas through visuals and to generate as many ideas as possible. It doesn’t matter if those ideas are great or terrible; by just bringing up the possibilities with the rest of the team, you can figure out next steps, feasibilities, hidden problems, and diverge and combine ideas through thorough discussions. Ideation usually starts off as an individual activity before becoming a group brainstorm session where you and your team discuss and vote on which solutions to move forward with.
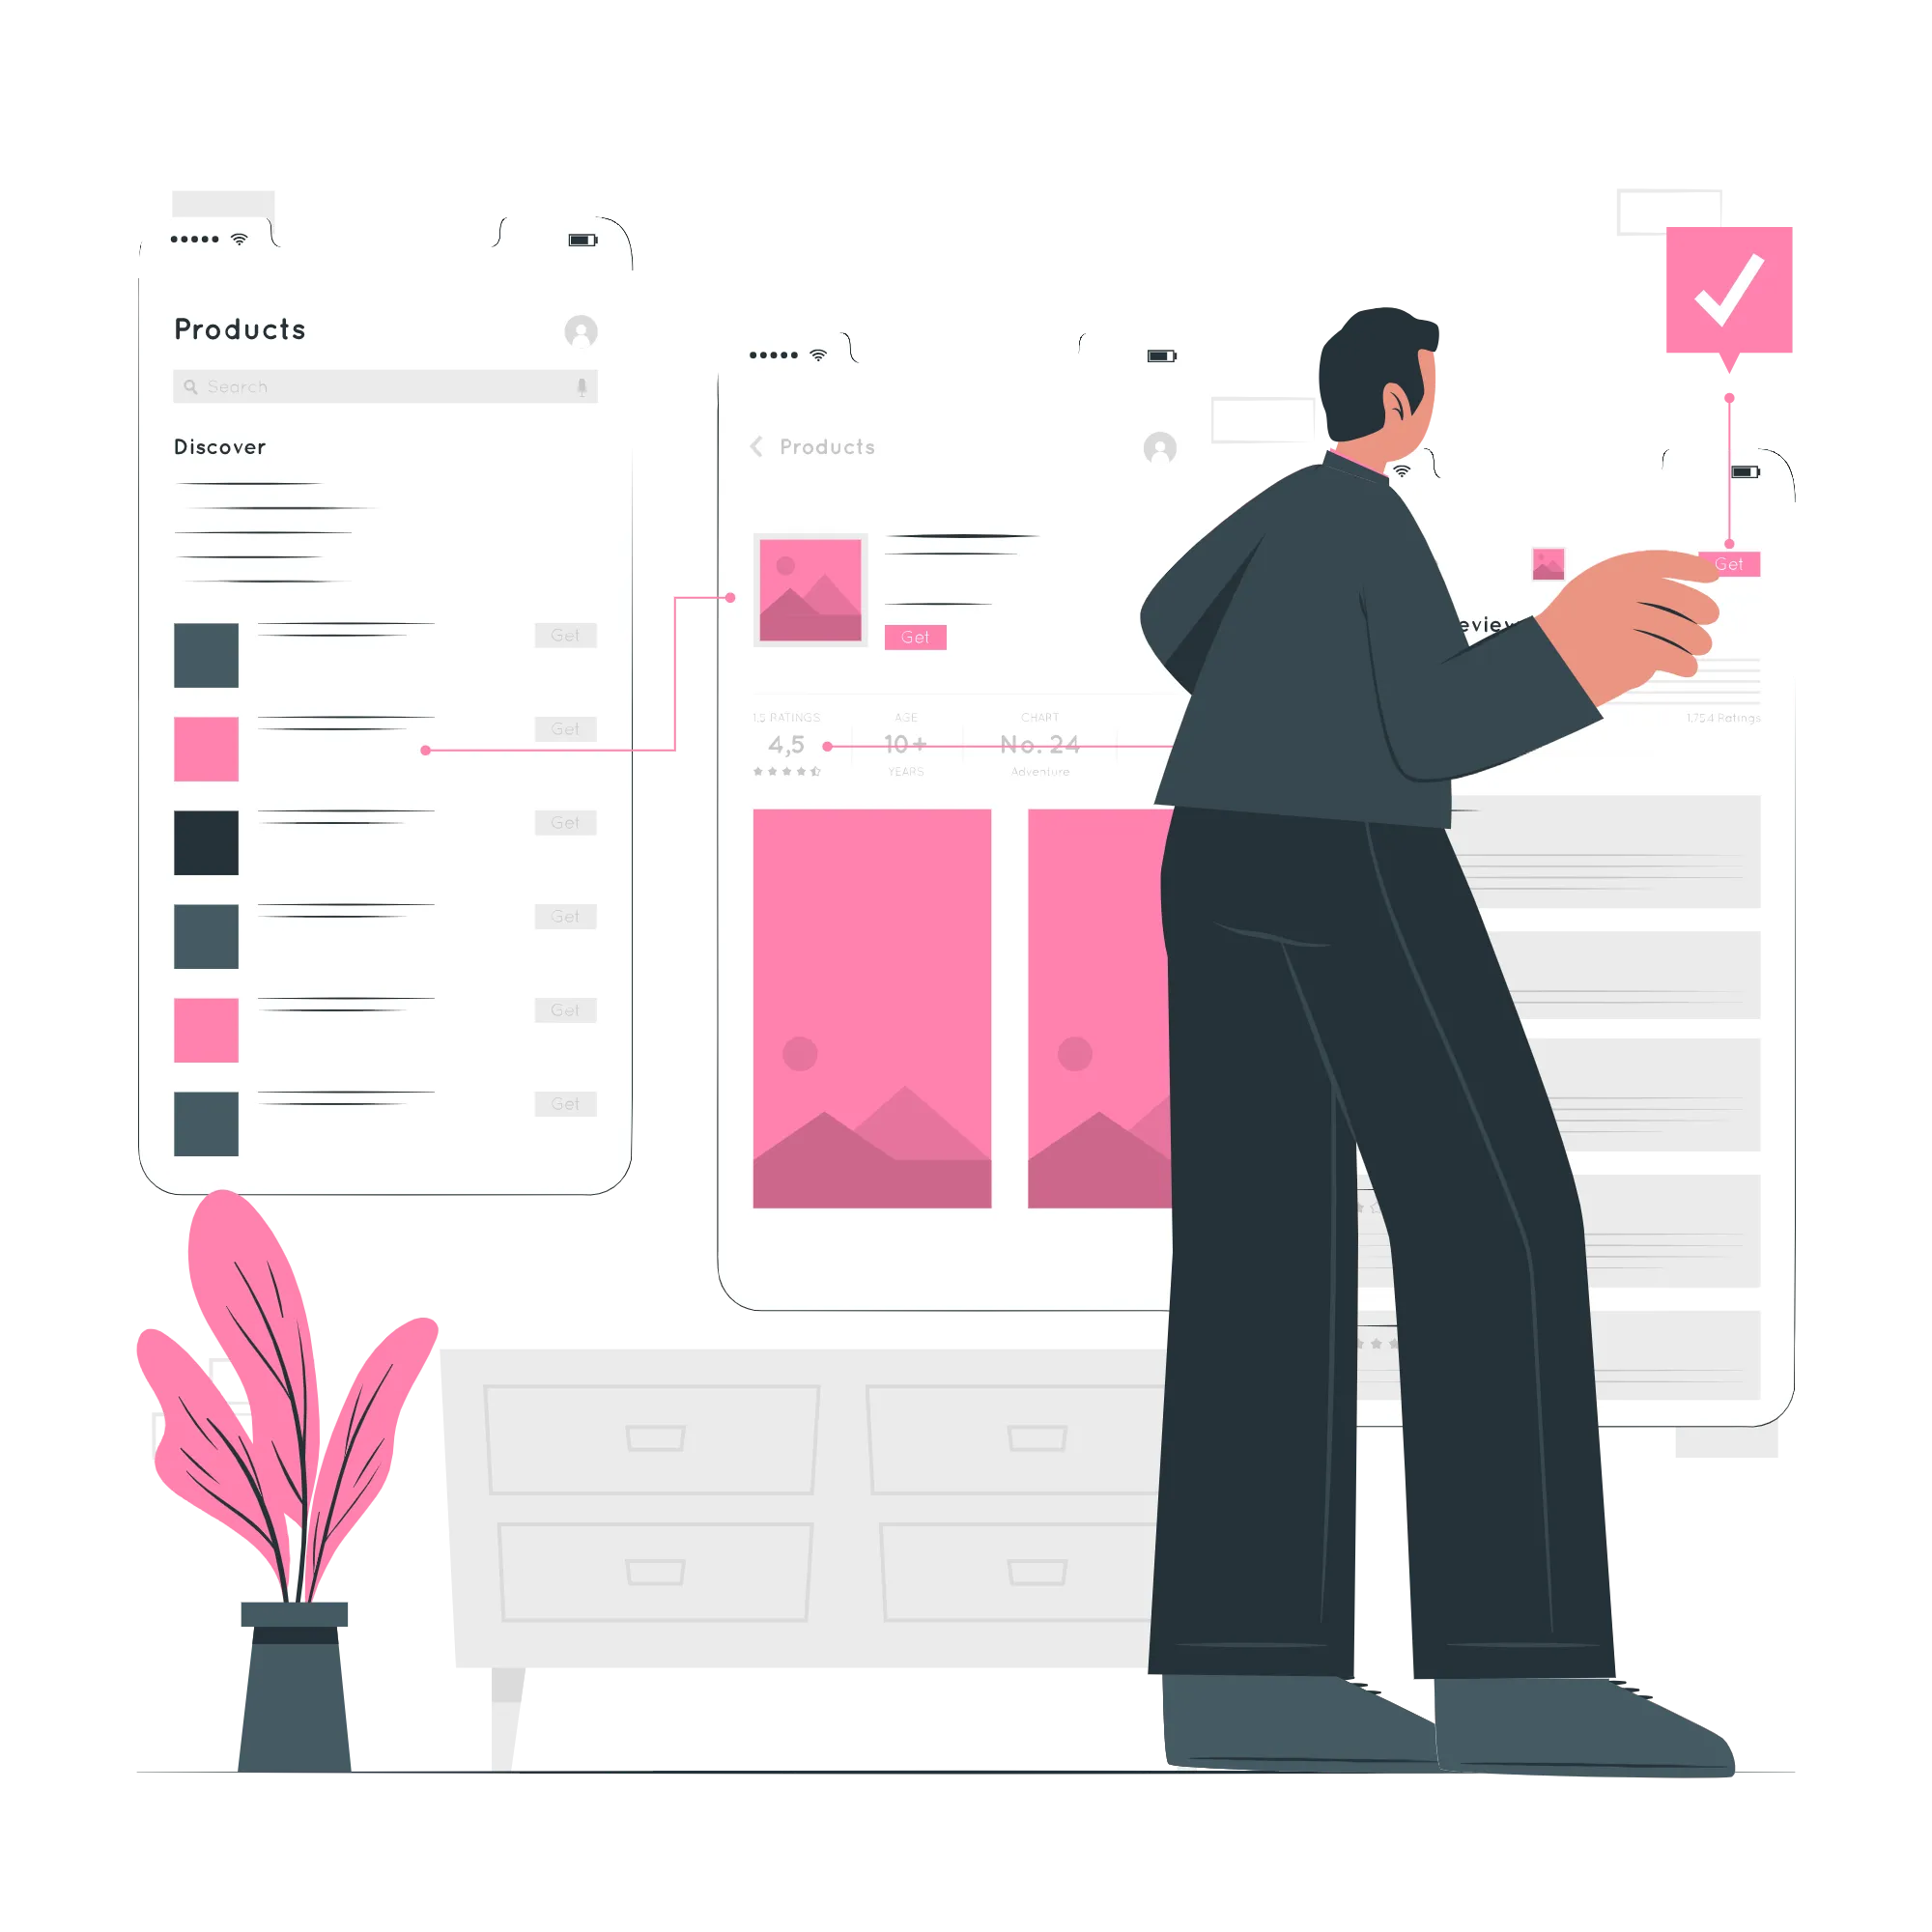
Prototype
Once ideas have been semi-finalized, designs will move into the digital space and onto the much-loved interface of Figma ✨. Digital prototypes goes through three phases: low-fidelity, mid-fidelity, and high-fidelity.
- Lo-fi designs are quick and simple. It lays out the basic interface of the designs with monochrome shapes and lines to denote information hierarchy and buttons and text placements.
- Mid-fi designs build onto the lo-fis and start to incorporate actual copy and major colors. Components and the products design system for fonts and colors start to come together to be used for later stages. User testing is often done with mid-fi screens, which we will learn more about in the next section.
- Hi-fi designs are the final product of the project. The design of everything, from layout and spacing to colors and copywriting, is finalized. Minor adjustments may be made, but any major changes is not recommended. Interactions and micro-animations are also developed at this stage.
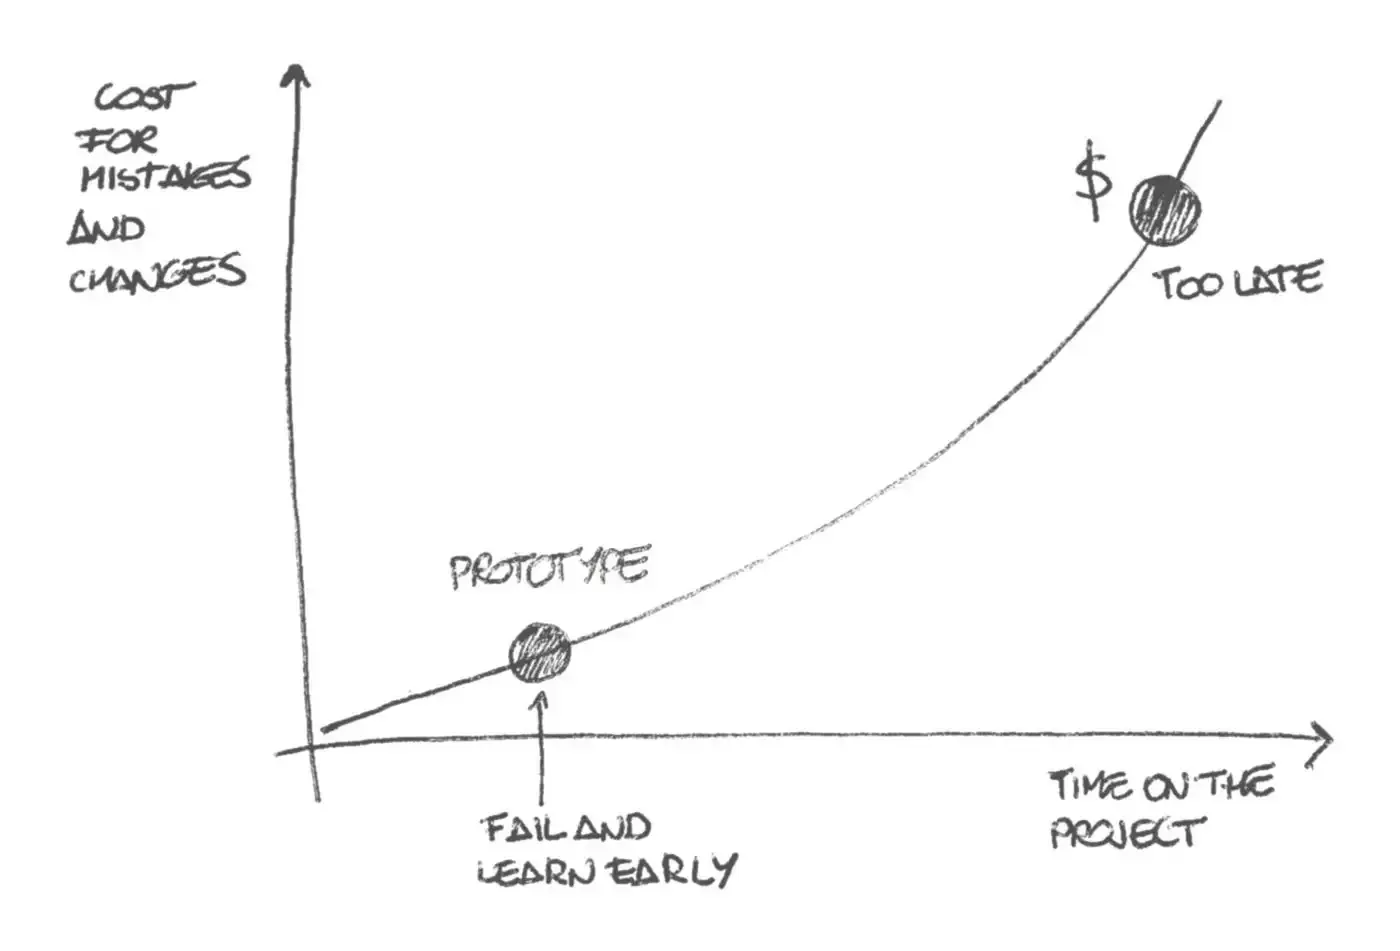
While lo-fis and mid-fis seem like they’ll only slow the project’s progress, it actually speeds things up. By testing low-effort designs, we are learning about the core issues the designs have during user interactions. Making your designs look pretty and extremely detailed early on only distracts users from the product’s main concept, and they are likely to comment more on the aesthetics than the actual product. Simple prototypes are also easy to change and ensures that we are not attached to our designs because a design goes through many iterations as it progresses through these three phases, and what you think may be the best solution might be something unexpected.
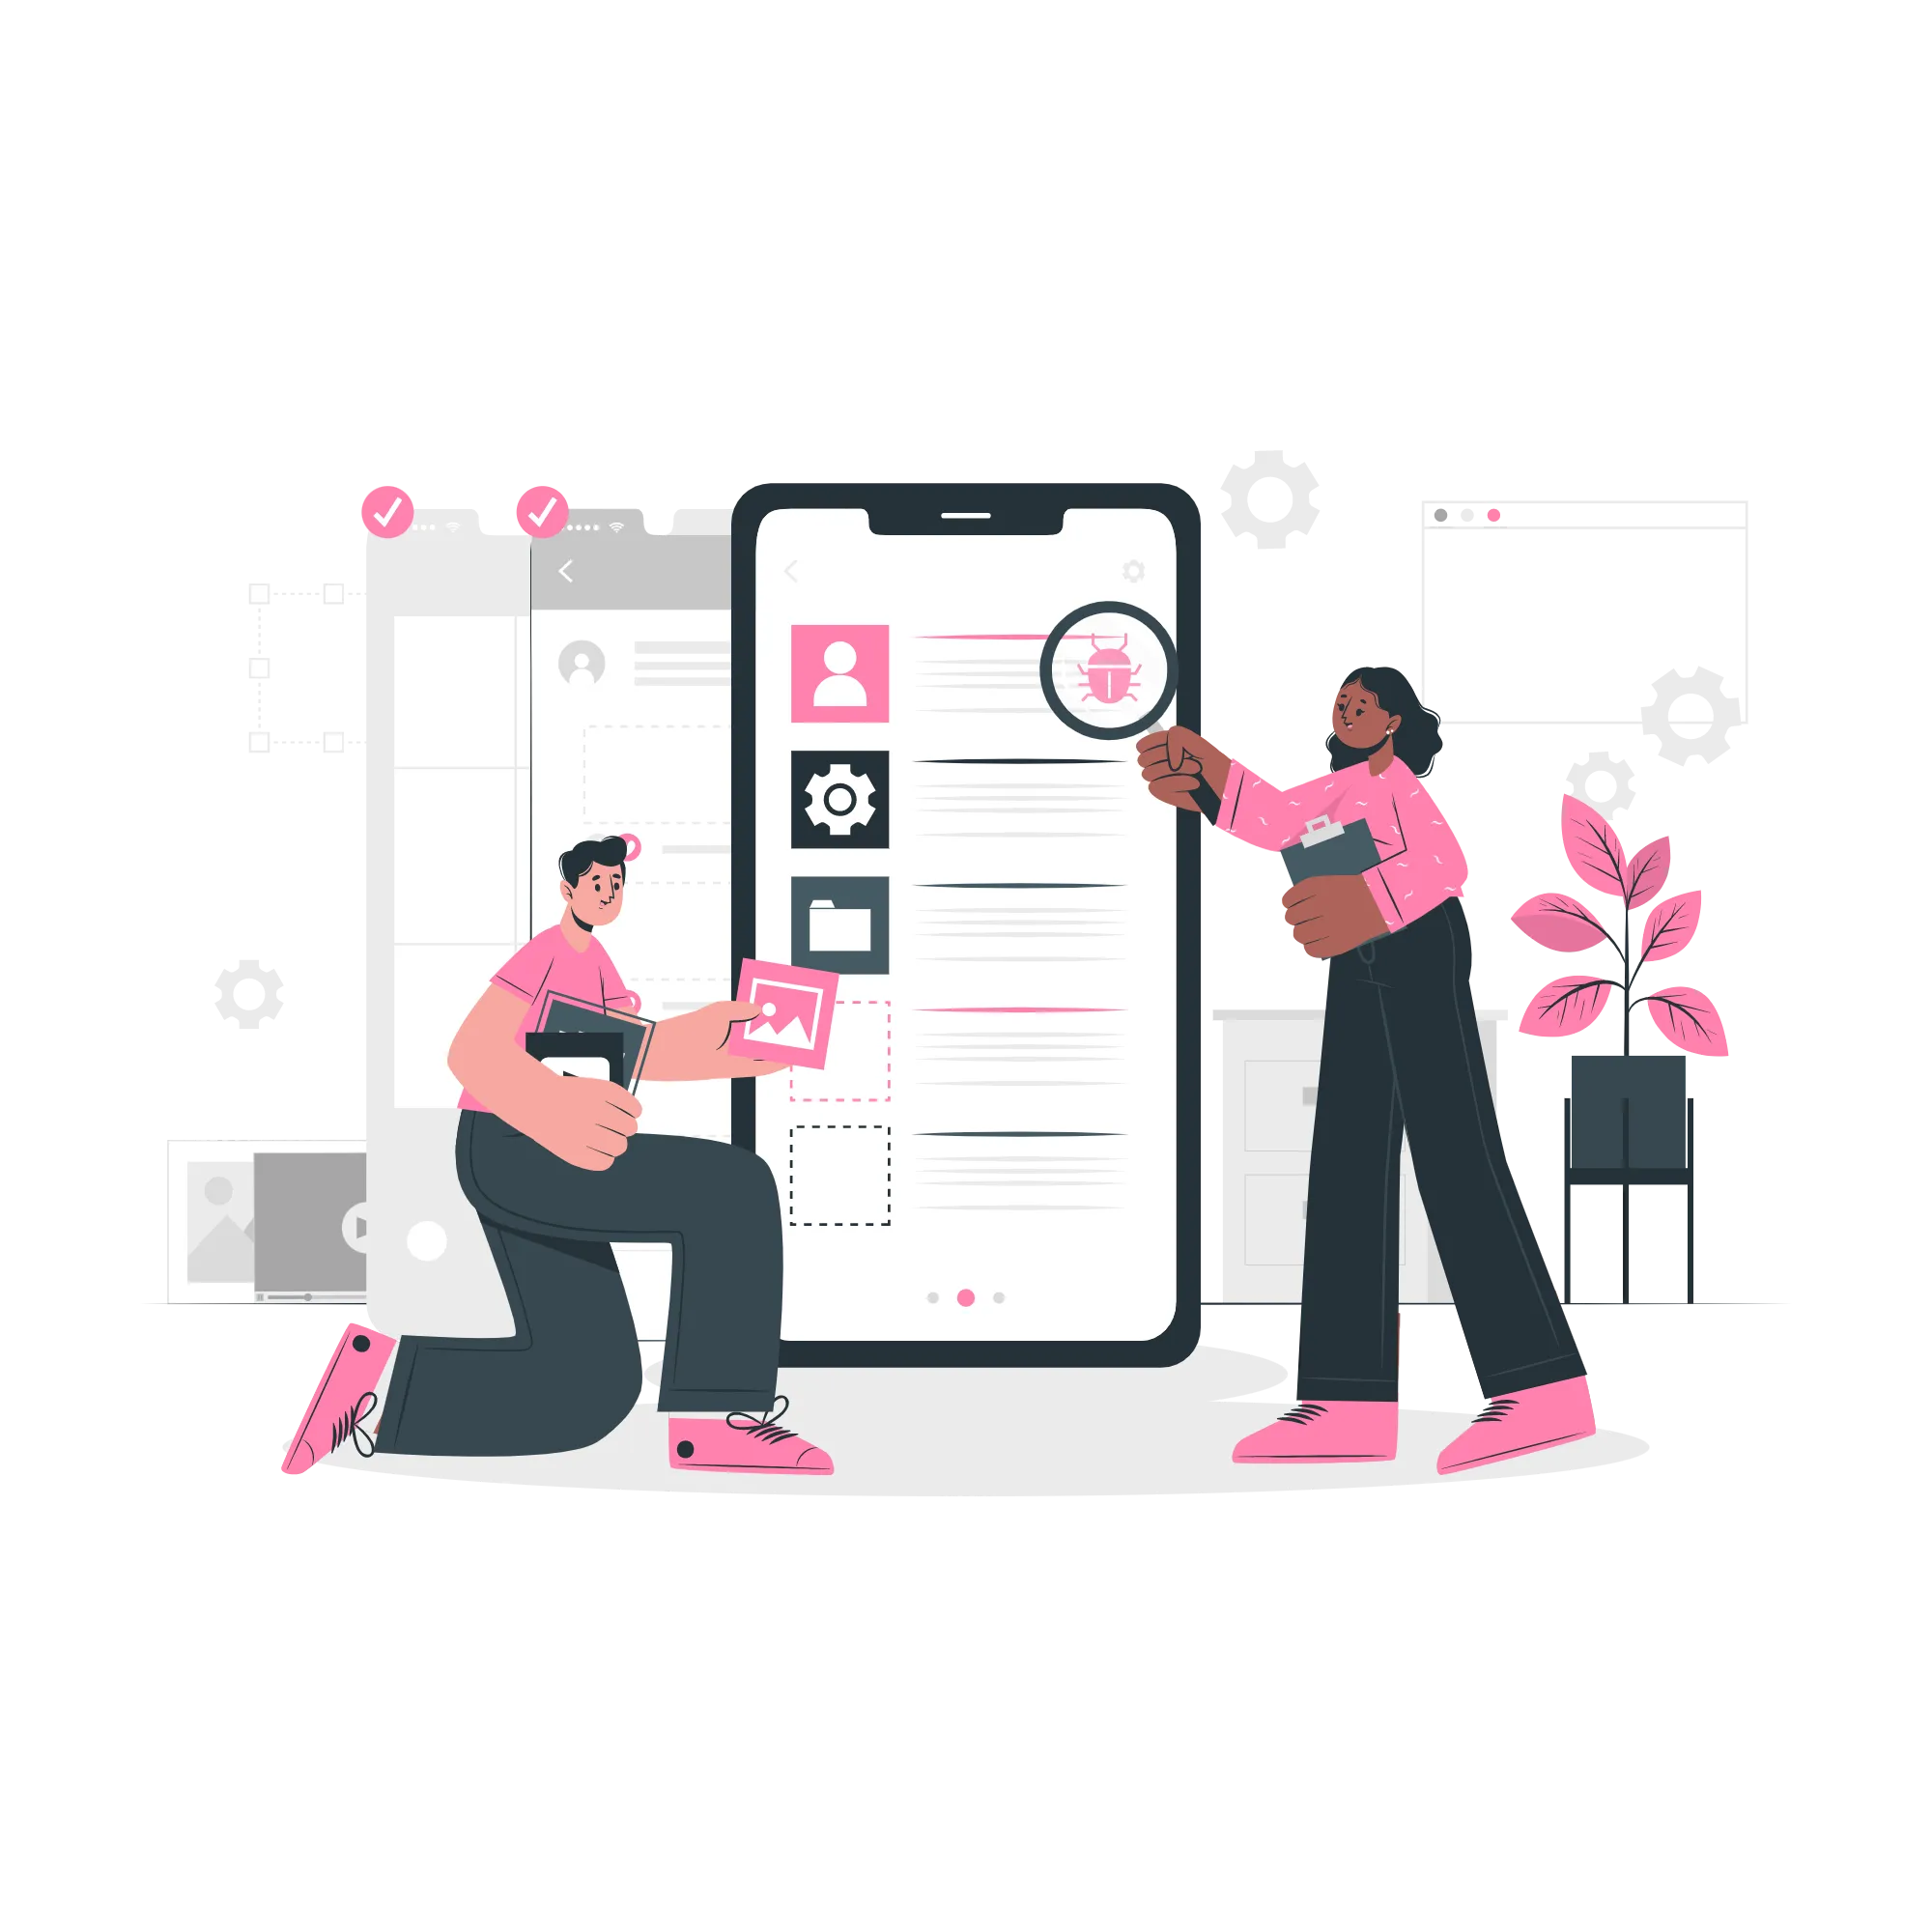
Test
Now that we have a few digital mockups of our designs, let’s see how it holds up against real users! The Testing phase is essential in learning about the effectiveness of your designs. Designers will create a user testing script that includes several tasks they want their user to go through. The user’s ability to perform the designated tasks are evaluated and lets you know how intuitive that user flow was, what needs to be changed, and which parts of the design are working well. During testing, designers are mere observers; the designs should speak for themselves and testing participants interact with the designs with little to no guidance, voicing their thoughts and actions aloud as they do so.
It’s important to note that testing can and should be done throughout the entire design process, starting as early as the ideation sketches. Your designs can always use more feedback, whether that be on your research methods, ideation sketches, or your visual designs. The more you test your product as it moves through the design process, the more your product will improve since problems will be caught before designs are finalized. The testing process is also where you’ll be receiving evidence on why your designs came to be! This is essential when presenting your ideas to clients and stakeholders: having testing results to backup your project increases your credibility and
Handoff
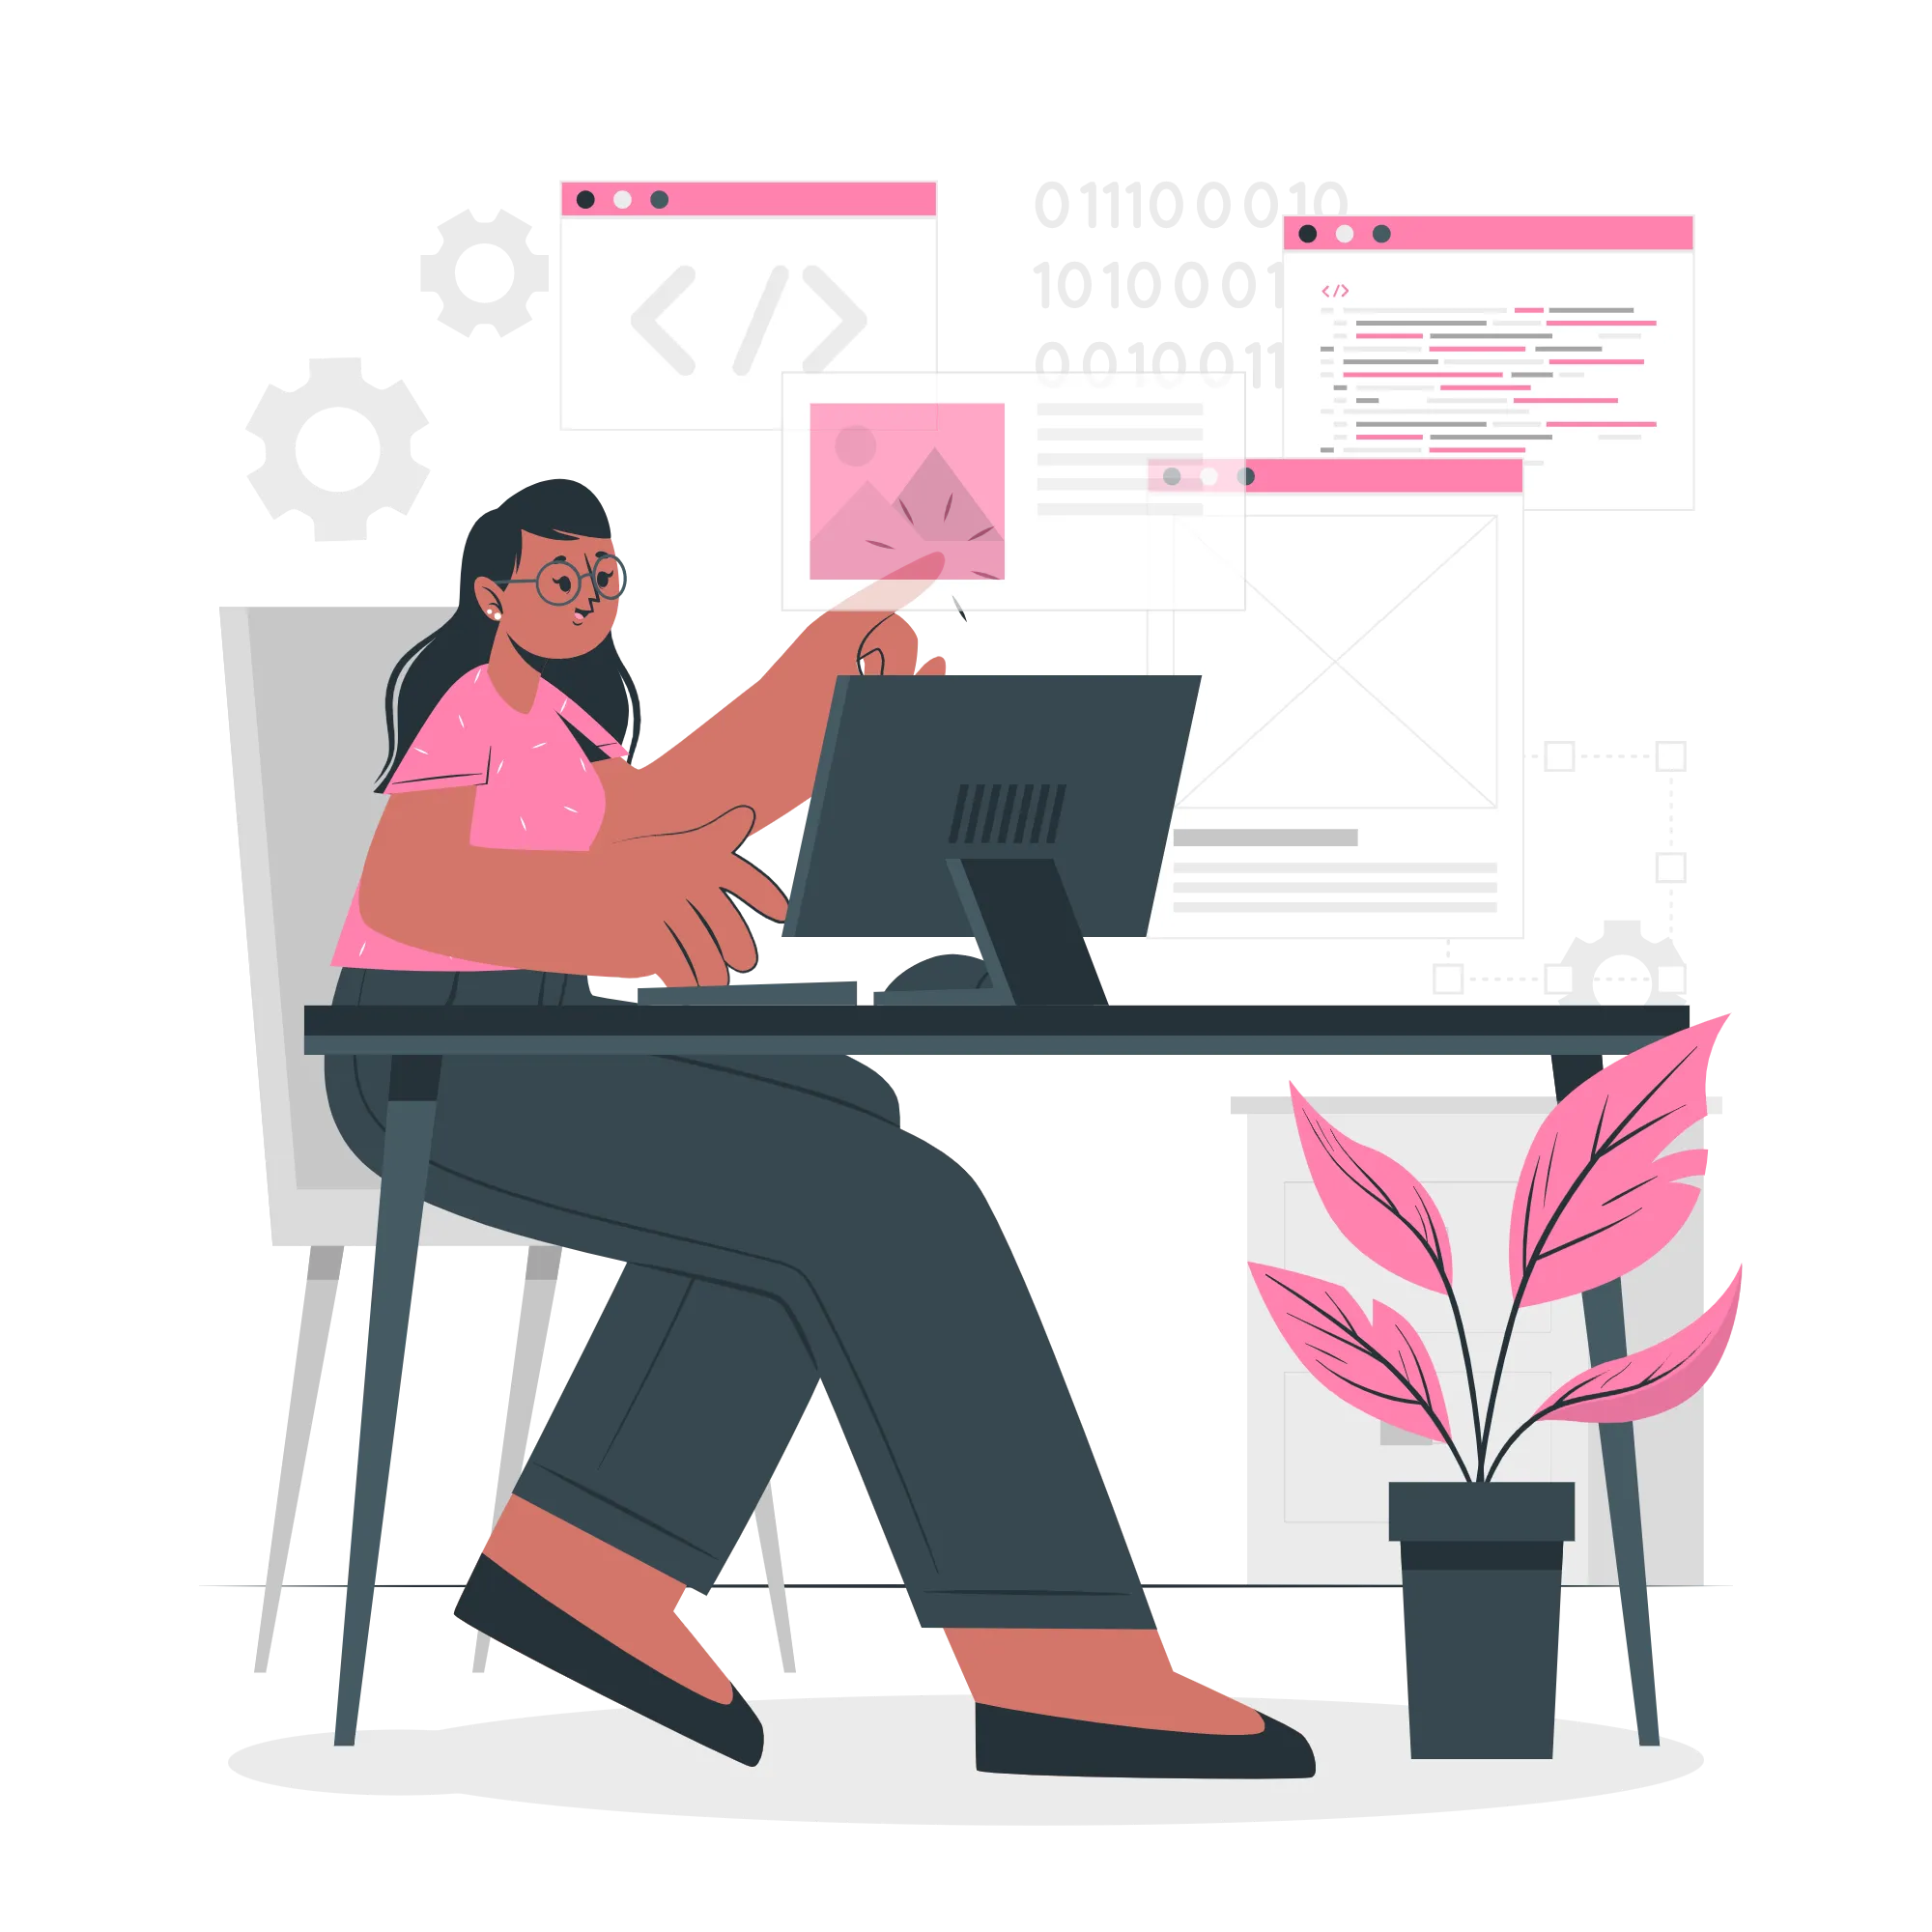
The final step is to handoff finished designs to developers for development. This means organizing Figma files, design systems, digital components, and more to send off to developers.
However, designers should be interacting with developers throughout the entire design process. You are on a team after all, so it’s important to keep everyone up to date on what’s going on from the design side of things. It’s also helpful to include developers in the Define, Ideation, and Prototyping phases as well: discussing ideas and feasibility and solidifying the project scope keeps everyone on the same page.
Conclusion
And with that, we’ve completed the entire design process, from empathizing and establishing our understanding of the user to testing our solutions and handing off our designs! While this does touch on the basics of the design process, there is definitely a lot more that goes into designing a product, whether that be the numerous methods we could use for research or the expanse of Figma shortcuts and hacks we could use to speed up our work process. Please explore the other modules to learn more.